So you want to build your own PC—congratulations! You’re going to have a blast and learn a lot about computers. Every PC I have ever built has been fun and rewarding. And I learn something new every time.
But to be honest, building your own PC isn’t the hardest or most time consuming part of the process. That honor belongs to shopping for your components! The first time you start shopping for components, you’ll find that you have to keep interrupting your search to ask yourself design questions.
What does that mean? Let’s say you start looking at motherboards. Right there you have to stop—do you want an Intel or AMD processor? Good question! OK, so now you go comparison shop processors. You think you have it narrowed down to a particular processor, then you notice it has a version with a built in graphics processor. Do I want that, or do I want a dedicated GPU? So now you go shopping for GPUs to see how much those cost. Wait a minute—how much is all this going to cost me? How much is in my budget? how expensive are all the other components I’ll need?
You can see how this is going, so let’s just stop there. In order to save you a bunch of time (and some frustration) I want to show you the blueprint I use to plan for a new PC build.
Two Questions
I ask myself two questions right at the beginning of a new build to get started:
- What is the purpose of this PC?
- What is my budget?
For you, the answer to the first question might be, “This will be a computer for my young kids for school work, writing papers, surfing the Internet, and playing some light games like Minecraft.” At the other extreme, you might be an animator who is also a gamer.
The intended purpose will influence the minimum that you should spend on your new PC. A kids computer could be as little as $500, but you could certainly spend more. On the other hand, the animator/gamer will probably need to spend closer to $2,000 to really be able to enjoy the PC. You could spend less, but you might not be completely happy with the final product. Below are some very general guidelines for purpose and budget.
| Purpose | Minimum Budget |
|---|---|
| Internet surfing and some word processing/spreadsheets | $500 |
| Business computing with graphic processing for things like presentations, photo editing, more serious gaming | $1,000 |
| Serious business computing, heavy computational processing, vector graphics and logo creation, streaming gaming | $1,500 |
| Graphic design, video editing, animation, top level gaming experience | $2,000 |
I’ve set my budget categories arbitrarily at $500, $1,000, $1,500, and $2,000+. Of course, if I’m going to get the best value by spending a little more like $530 when my budget is $500, I’ll probably spend the extra money. The point of the budget to me, like anything else in my blueprint, is to help me make faster decisions to save time.
I use this overall budget to determine individual component budgets. With my component budgets in hand I’m almost ready to start shopping. In addition to to my budget I use my design blueprint – a set of criteria I use to to help me make decisions. Let’s cover the blueprint!
My Design Blueprint
This is my blueprint for computer builds. It is my list of design criteria I use to help me pick the optimal components for any purpose and any price point.
Function Over Form
I generally choose function over form. Sometimes the best component comes with some bling—a cool heat spreader on the memory or Plexiglas sides on the case. and that’s OK! But I don’t spend extra in order to get the bling.
I’ve made many PCs for my kids, and the first few had Plexiglas sides so you could see inside, or LED fans, fancy heat spreaders, or any number of cool things I thought the kids would appreciate. And do you know what I discovered? They could care less what it looks like. They would rather have a bigger monitor or a nicer mouse than a cool looking case.
I can personally appreciate a PC with some cool bling. But I don’t really get to look at it either. It sits under my desk. And truthfully, I’d rather have a nicer mouse that’s comfortable to use for hours a day than a case that looks like a helicopter cockpit. So when given a choice, I choose function over form.
Upgrade Path
I spend a little extra on certain components to ensure I have an upgrade path. That might mean a motherboard with an extra PCIe slot, or four memory slots instead of two, or a slightly bigger power supply. Especially if I know I’m going in a little cheap on my initial budget, I want to make sure I can upgrade in a few months to eventually have the PC I want.
I’ve been able to extend the useful life of a PC by several years with an upgrade or two. This can save me some money on my hardware costs over the long term and some hassle. Let’s face it, getting a new PC is exciting, but it is a hassle to move all your data, reset your personal preferences, etc. So I always make sure I have an upgrade path.
AMD Processors
I always build my PCs with AMD processors. AMD and Intel are your two choices for your Central Processing Unit (CPU). I didn’t always set out to use AMD processors. But in my first few builds, I just seemed to end up with AMD as they had the best value for the money. I also like the idea of supporting the underdog (Intel had over 80% market share in 2016). And lately, AMD is really competing at the highest performance levels.
For me, it’s really just a personal preference. Intel has an excellent product and I’m not criticizing them in any way. I just like to use AMD.
Solid State Drive (SSD)
I prefer to mount my solid state drives (SSD) in M.2 sockets using the PCIe bus (that’s three different points—SSD, M.2 socket, PCIe bus). SSDs in an M.2 socket mount directly to the motherboard. A 2.5” SSD will mount in a drive bay, and I have to attach a SATA cable from the drive to the motherboard for data, and a cable from the drive to the power supply for power. With an M.2 mounted SSD, the installation is cleaner with no cables. Plus I can take advantage of the faster PCIe bus, so I get faster data transfers.
Prices for the M.2 SSDs vs the 2.5” SSDs have really converged, so there is only a small premium for the M.2 drives.
Once I get into the $1,500 builds, I’ll use two SSDs, a smaller 500 GB M.2 drive for the OS, and a separate 2.5” SSD for data. The smallest drive I buy is 500 GB. I’ve had capacity related issues using 250 GB drives with Windows 10, and storage is pretty inexpensive, so I stick with 500 GB and larger drives.
I only buy solid state drives. I no longer buy mechanical hard drives. A mechanical spinning drive is noticeably cheaper, and noticeably slower. And it’s a hard component to upgrade later, so I stick with SSDs.
4 RAM Slots
I always buy motherboards with 4 slots for RAM. Adding RAM is one of the simplest and cheapest performance upgrades you can make on your PC. The only place where this really limits my choices is with the very cheapest motherboards around $50-70. It’s hard to find motherboards that inexpensive with 4 slots for RAM. But even on my $500 builds, I’ll spend $75-$100 on the motherboard. So I stick with motherboards with 4 RAM slots.
PCIe 3.0 or PCIe 4.0
I like PCIe 4.0 capability. Anything that increases backplane bandwidth is a good thing. But it’s new and hard to find motherboards at the lower price ranges with it. So as a minimum, I want at least PCIe 3.0 on the PCIe slots. And if I can get PCIe 4.0 I’ll take it. It’s a big benefit for my upgrade path, and newer software will be able to take advantage of it for years to come if you have the capability.
| Motherboard Price | Motherboards with PCIe 4.0 |
|---|---|
| <$100 | <10% |
| $100-$200 | >35% |
Dedicated Video Card
Except for the lowest cost builds, I use a dedicated video card or Graphics Processing Unit (GPU). A dedicated GPU is required for anyone doing a lot of gaming, graphic design, or even image manipulation with applications like Photoshop or Gimp. It can be the most expensive component in your PC on higher priced builds. But a good GPU will keep your display running without lag or glitches.
Every PC requires a dedicated video card or a CPU with integrated graphics. Without one or the other, your display will be blank (which makes for a rather boring PC experience). So on my $500 PCs, I will skip the dedicated GPU and instead use an AMD processor with integrated graphics (denoted with a “G” at the end of the part number, like 3400G.) This will save $100 or more, which is a big deal on a $500 budget. If I go this route, adding a dedicated video card will be one of the first upgrades I do later on. It will definitely extend the usable life of your PC.
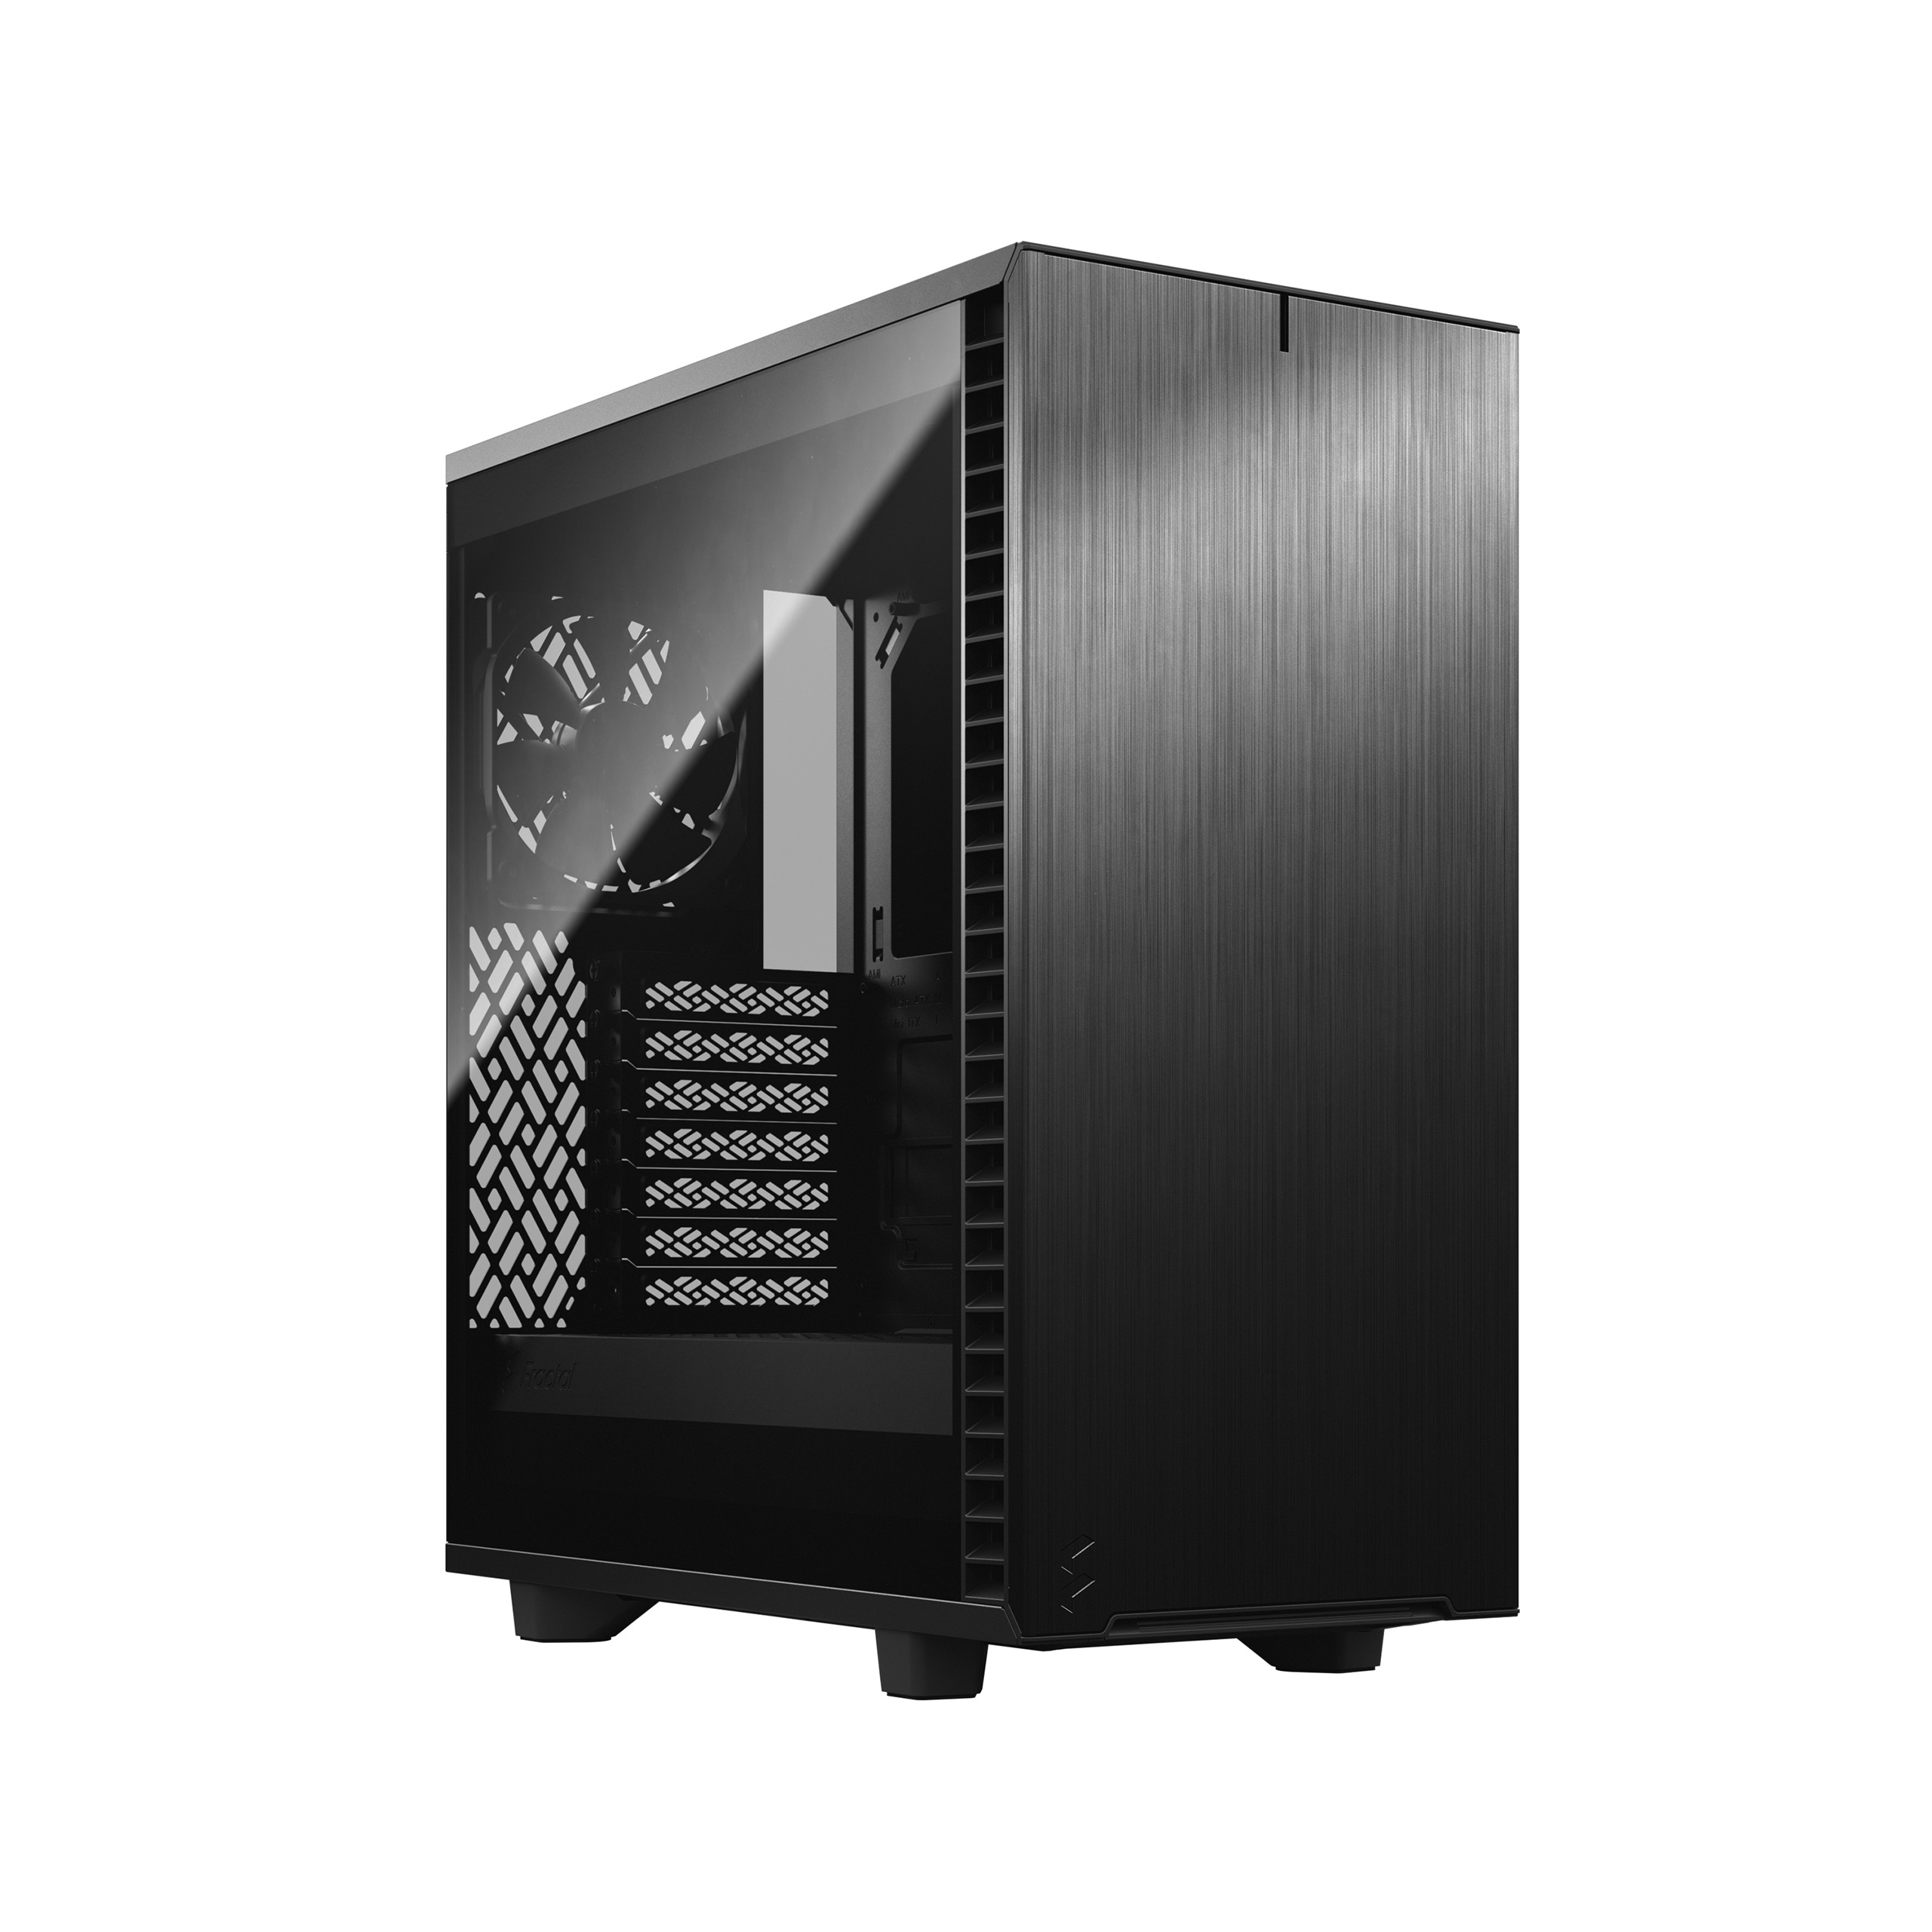
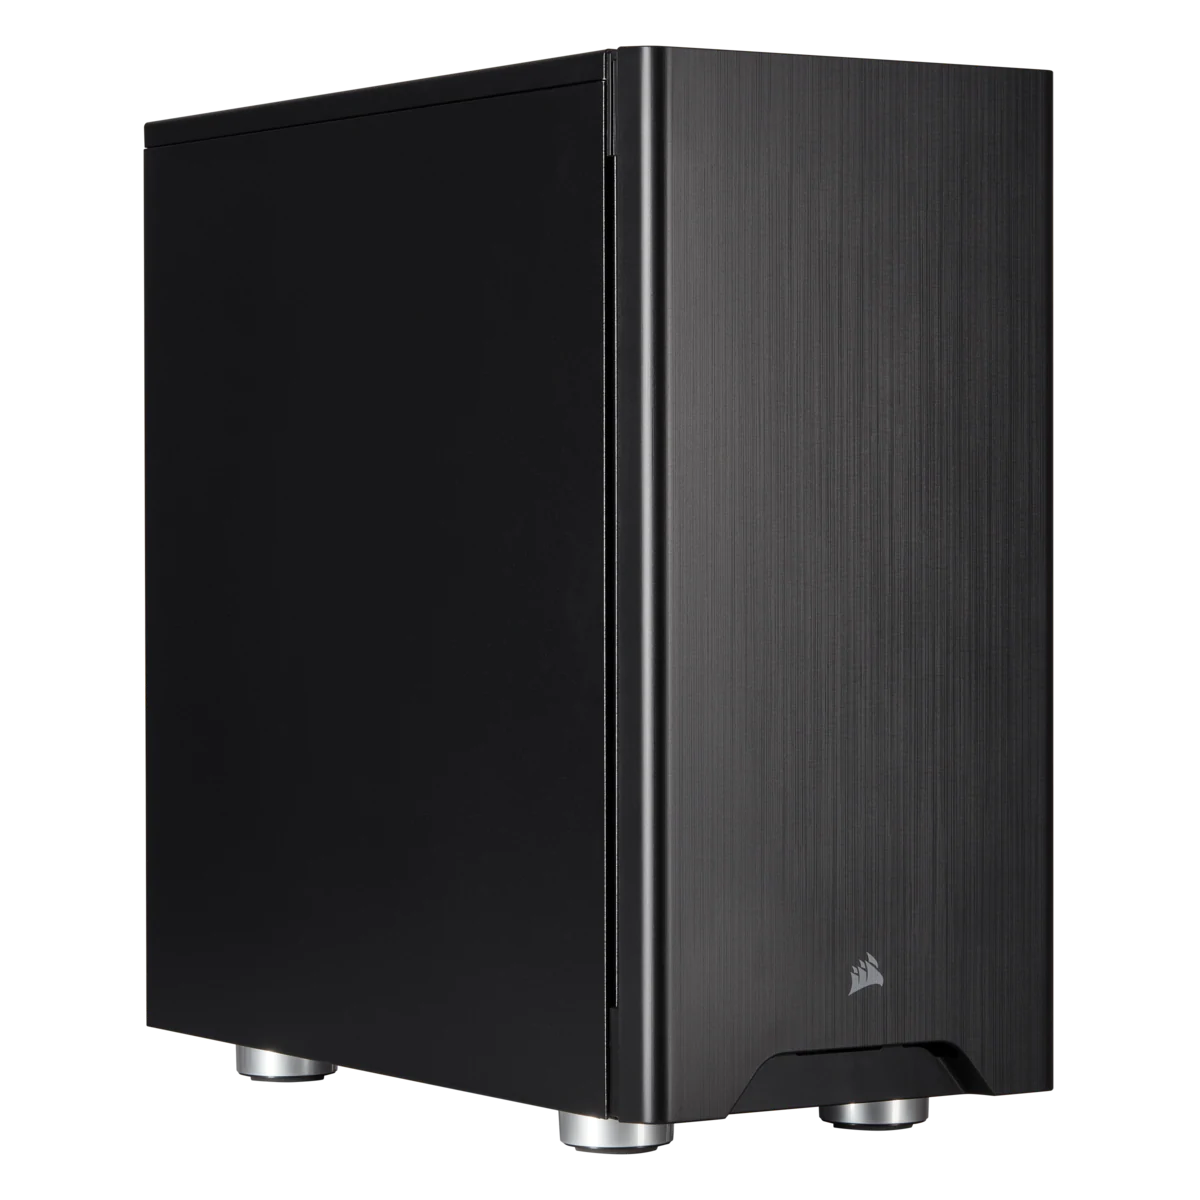
Full ATX Case
I normally buy full ATX cases. They provide plenty of internal room for mounting components, they can accommodate the largest variety of motherboards, and they help with thermal management. A full ATX case will give you more room for cabling and your off-motherboard components like power supplies and coolers.
DVD, Keyboard, Mouse, Wifi
I’m old school, so I still use DVD drives. But they really aren’t necessary any more. In fact I don’t buy them—I recycle them from old builds. If nothing else I can watch movies on DVD on my PC.
I buy the least expensive keyboard available.
I spend a lot of time on the computer, so I like to have a comfortable mouse. In fact, I will use several different kinds of mice (vertical, trackball, etc.) and switch them every few months too help prevent any repetitive wrist injury.
I buy the least expensive usb wifi adapter. You can get them for <$10. I usually keep a spare or two in case one goes bad (which has happened to me once in 20 years).
Recap
So just to recap my blueprint:
- PC Purpose
- Budget
- Function over Form
- Upgrade Path
- AMD Processor with an AM4 socket
- M.2 socket using PCIe 3.0 or 4.0 (not SATA)
- 4 RAM slots on the motherboard
- PCIe 3.0 mimimum, PCIe 4.0 preferred
- Dedicated video card
- Full ATX case
If this is your first time building a PC, I would suggest you start with this blueprint and if you find a good reason to change it, do so. Stick to your blueprint, and have fun with your build!